How to Roast a Turkey
How big a turkey should you buy? Well, I never buy a turkey over 15 pounds because I can't lift it into the oven in the roaster without burning my forearms. It's also cumbersome to flip over. If you need a gigantic turkey to feed a crowd, you might do better to roast (2) 12 pounders, as you'll have 4 drumsticks, 4 thighs, 4 wings, and two giant breasts.
How to defrost a turkey:
Best method: stick the frozen bird in your fridge for 3 days. Take it out of the fridge, (after thawed), relieve the cavity of the internal organs and neck, rinse it off, and put it in a brine. Trust me. It's worth the extra step. Really. Do it. Brines are super easy, require no measuring, and add a world of flavor and moisture unheard of in the un-brined bird.
Worst Method: Soak in hot tap water in the sink until thawed. Say "hello" to food poisoning, "goodbye" to a lovely day with your family and friends, and "Hello" to both the porcelain God in your bathroom, and to the E.R. staff.
Alternately, use the "fine" defrost method on your microwave, flipping and turning about every 5 minutes.
Let's brine this bird!
Get some Kosher salt, about a cup; Brown sugar, about a cup; whole peppercorns, about 1/2 a cup; a handful of fresh herbs: Thyme sprigs, sage leaves, parsley. Add about 1/2 cup maple syrup. This will make your turkey beautifully brown and crispy.
Put in a saucepan with enough water to cover, and bring to a boil until salt and sugar are dissolved. Get a giant zip top bag, put the turkey in, and add the brine liquid.

See how it say's "Basted"? That's code for "injected with chemical salt solution".
I
Heat it up on top of the stove just until it simmers. Stir it up, making sure salt and sugar are dissolved. Throw in some ice cubes to cool it down.
Put the bird, sans neck and guts, in a big Zip top bag. I generally use a 2.5 gallon Ziploc, but I found a super big reusable brining bag at Tuesday Morning, so I used that. Pour the brine into the bag and cover with cold water. Put the bag into a big container. I tried my 7.5 quart dutch oven, but it was too small.
So then, I put it in a cooler. Since I had (made) space in the fridge, I put it in. If you have no space in the fridge, just fill up the cooler with ice or ice packs. Make sure the temp stays below 40 degrees (F). You'll have to replace the ice or packs as needed to keep bacterial growth at bay.
After about 16 hours in the brine, (24 hours for a fresh turkey) take the turkey out of the brine and rinse thoroughly.
After drying the bird thoroughly, put it on a sheet pan lined with a thick layer of paper towels, and stick it right back in the fridge.
"Why" you ask? Because if you let the bird sit uncovered in the fridge for 24 hours, it helps get the skin super crispy. Soggy skin is not delicious.
Take the turkey out of the fridge at least an hour before you want to put it in the oven. Place the bird breast side down, on a couple of ice packs, or a bag of frozen peas. The breast tends to cook much more quickly than the rest of the turkey. This will help keep the breast from cooking through before the rest of the bird is done.
Turkey on it's own does not have a lot of flavor. You must give it some.
Start by making a compound butter. (Fancy term for softened butter with stuff in it). Start with one stick of softened butter.
Add a good pinch of Kosher salt. Then at least 2 tsps fresh cracked pepper.
Chop up about 4 fresh sage leaves.
Grab a bundle of fresh Thyme.
Strip the leaves off by holding the stem, pulling back down the stem removing the leaves. No need to chop these. Just throw them in the bowl with the butter.
Mince up a clove of garlic. Throw it in.
Take small fork and stir it all together. You want a smooth paste.
Now that the herb butter is done, move on to chopping the veg.
Wash 2-4 big carrots. No need to peel them, we're just using them for flavor.
Wash about 6 stalks celery. Don't peel them.
Rough chop them.
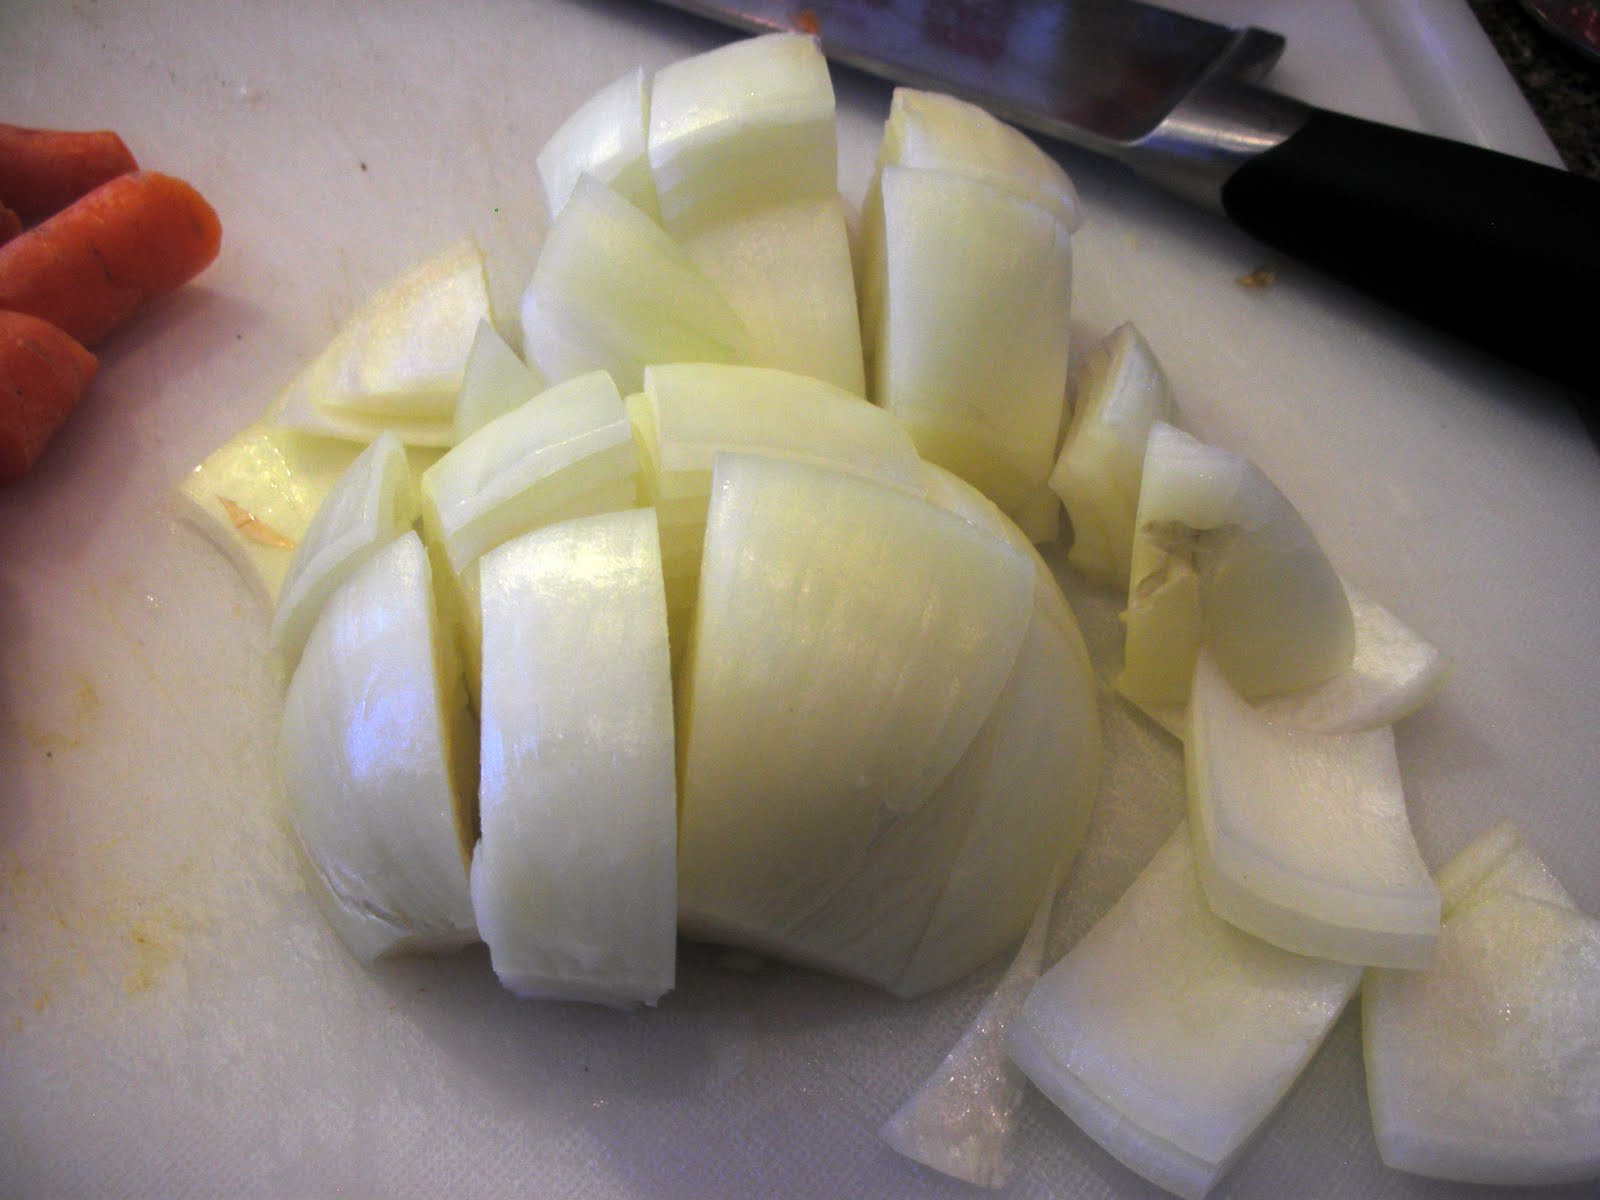
Peel one very large yellow onion.
Rough chop it.
Time to stuff the bird.
Cut a head of garlic in half. Salt and pepper the cavity of the bird.
Put in 1/2 of the garlic head and as much of the chopped veg as you can stuff in the cavity. You could also add a quartered apple, orange, or lemon. It's up to
you. Stuff some whole sprigs fresh thyme, sage, and rosemary in the cavity.
Can you see the plastic thing stuck in there to keep the legs together? Cut it out. It doesn't work well to keep the veg inside the cavity, and it's annoying, and ugly. Ugly does not belong in a delicious turkey. Stuff the cavity with veg's because they are full of water, which will help keep the bird moist. If you stuff with a bread stuffing, the bread will soak all the moisture right out of your turkey. Cook the dressing on the side with home made turkey stock.
O.K. Let's use that herb butter. Gently lift the skin off of the breast, and work your hand in there to create a pocket. That's a pumpkin cheesecake from Costco in the background. Very delish.
Yep. That's my whole hand in there. The 24 hours to dry in the fridge step is essential, as wet skin will tear. See how I'm able to stretch that skin?
I'm up to my wrists in turkey!
Now, grab a handful of herb butter and massage it into the breast, under the skin.
Once you've gotten a couple handfuls of butter under the skin, butter up the outside.
Bird buttered. Check. Now, lay out the string you'll use to truss the turkey.
You can try to do a fancy one string truss, or you can do it simply with 3 pieces of kitchen string or twine. Take one very long piece of string and tie it lengthwise around the bird. In the photo above, do you see that tail like hunk of flesh between the legs? You want to secure that up so your stuffed veg doesn't fall out.
Then tie a string around the wings to keep them close to the body, and tie the tips of the legs together. Some people are able to use the slit cut in the flap type thing to secure the legs, but I just can't see to get them to stay without ripping the skin. Must just be a klutz issue.
Salt and pepper the outside of the turkey. Sprinkle on some fresh or dried herbs.
Preheat the oven to 425 degrees. Place oven rack in the lowest position. You'll probably have to remove one of the racks so the turkey and roaster will fit in the oven.
Since I don't have a V Rack, I made one with 2 cooling racks. Kinda ghetto, but it works. Keeps the turkey from rolling all over the place.

Cover each rack with foil, then take a paring knife and slice about 25 or so holes in each foil lined rack . This will ensure crispy skin all around, and keep the bird from sticking to ghetto rack.

Place the rest of the chopped veg in the bottom of the roaster and cover with water. This will be the base for the gravy. I made the mistake of using chicken broth instead of water, and my gravy turned out way too salty.
Place the turkey rack in the roaster, if it's not there already.
Roasting method:
- Put the turkey breast side down in a 425 degree (F) oven for 45 minutes. If the turkey is over 18 pounds, leave it in for an hour.
- After an hour, take the turkey out of the oven, close the oven door. Turn heat down to 325 degrees (F). The backside of the turkey should be beautifully brown.
Brush it all over with melted butter.
Now, it's time to flip the turkey over so it will continue to roast breast side up for the remainder of the cooking time. Take a couple of big wads of paper towels or 2 clean potholders, and pick up the bird (head and tail sides), and turn it over, breast side up.
Brush with melted butter.
- Insert a meat thermometer into the thickest part of the thigh or the breast, making sure the probe isn't touching the bone. If you have of those pop up timers embedded in the turkey, take it out and throw it away. It's a useless piece of garbage that will cause your turkey to overcook. Not delicious.

- Put the turkey back into the oven. Keep the door closed.
- When the meat thermometer registers 160 degrees (F), take it out of the oven. (On average, figure about 20 minutes per pound in the oven. However, this time table can vary greatly due to differences in oven temp, type of roaster used, temp of the bird when you put it in the oven, etc. That's why a meat thermometer is essential. You can't guess on this).
- Take the turkey out of the roaster (160 degrees), put it on a cutting board or in an oblong baking dish, and cover it tightly with foil.
- Rest for 15-20 minutes.
While the turkey is resting, make the gravy.
This is one beauty of a turkey. But the real question is, "how does it taste?" My first taste tester, me, found this turkey to be extra moist and flavorful ,with exceedingly crispy, flavorful skin.
This post is really long due to all the steps involved in prepping this bird. However, each of the steps don't take long at all. Please post questions and comments.
Charyl